Wood floors suffer a lot of abuse ranging from the favourite toys of your child, pet paws, high heels and shifting furniture items, etc. Wood floors are though hard and usually last long, their finishing is easily susceptible to scuffs and scratches. Refinishing of this range of floors is an expensive affair. It costs a lot of money. Refinishing is a term, it means sanding a floor down to apply a fresh new surface finish. Usually a wood floor requires a refinish every few decades. On the other hand polishing wood floors is an easy and inexpensive way to infuse a fresh lease of life to its sheen as well as even out the signs of regular wear and tear to a large extent. It also keeps stretching the life of the hard wood. Specially formulated solutions are the best option to polish wood floors with.
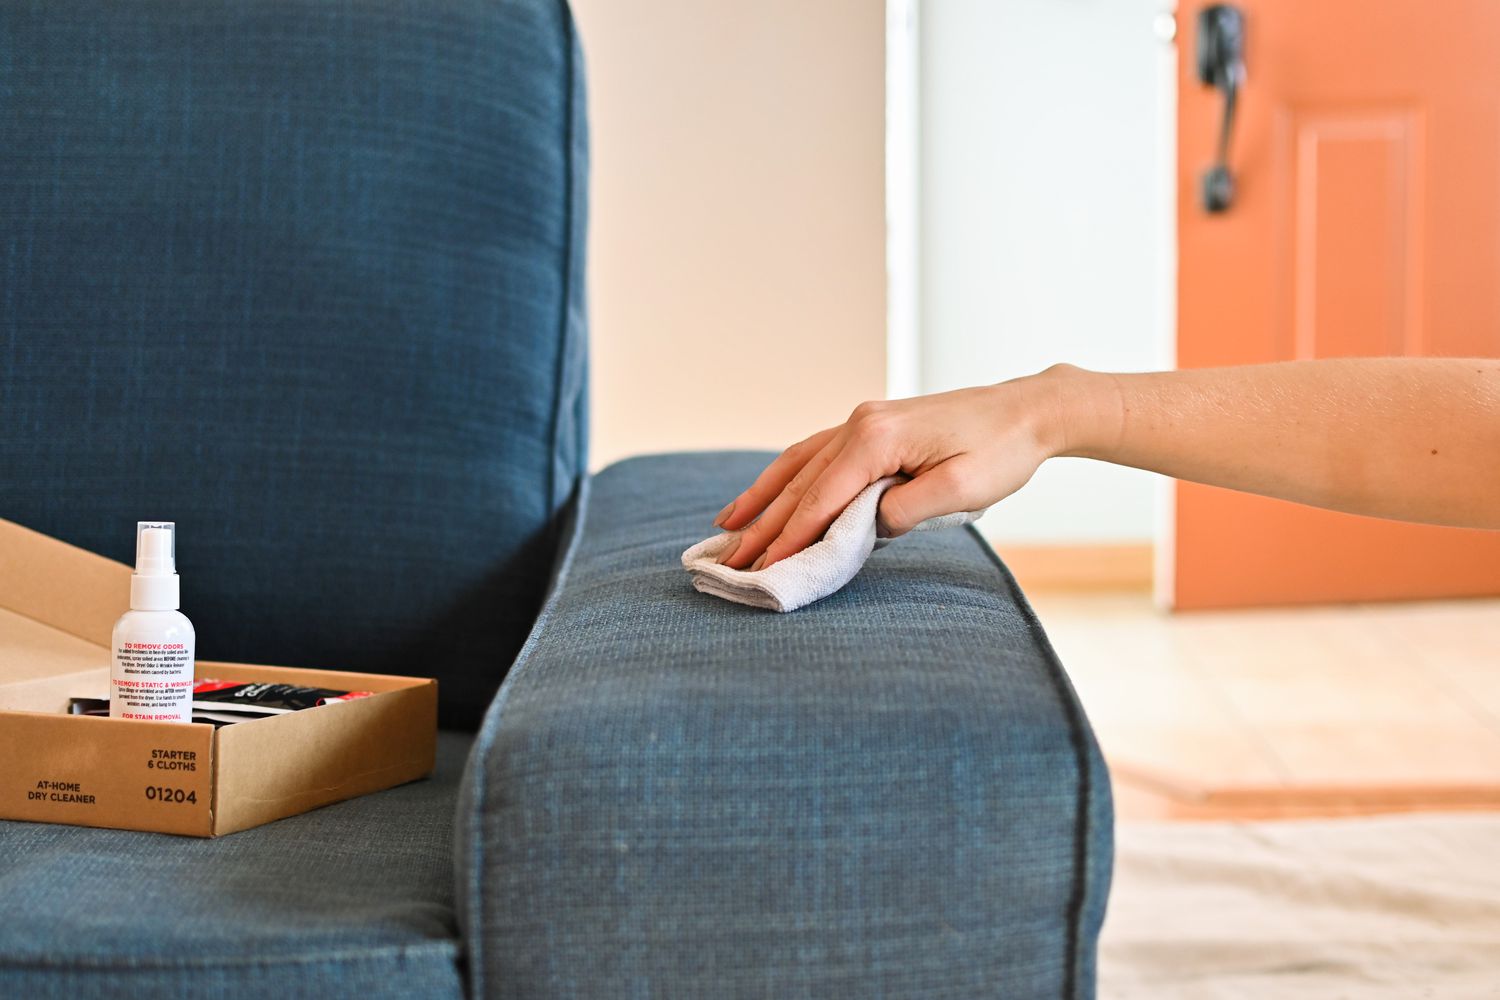
The items or hardware that you require to accomplish the task include a mop with flat head and commercial wood floor polish. Both the items are readily available in the market both online and offline. Commercially manufactured wood floor polish comes in both high and low-gloss sheen. Thus providing desired look to your floor is not difficult.
Every type of wood floor is not meant to be polished. The type of finish your floor has determines whether you can give it a polish or not. Trained and skilled professionals having years of experience in cleaning wood floor in London explain the range of wood floors that comes with a protective barrier like urethane benefits from polish. But wood floors that have penetrating finish, like unsealed wood or tung oil, do better with wax instead of polish.
It is important to note that if you use any wrong product on your wood floor it may bring up a lot of issues. Wrong products when applied may lead to issue like the following –
- Impairing proper finishing of the floors in course of time
- The floor may turn too slick
- It may lose its natural shine and appear dull
Therefore it is crucial to choose the right product to make your floor appear fresh and healthy over the decades. In order to choose the right floor polishing products you must know the kind of floor you have.
The tools and materials that you require accomplishing the task include the following –
- Sponge mop
- Mop pad made of microfiber
- Hardwood floor cleaner
- A dustpan
- A broom
- A commercial wood floor polish
- Mop with flat head
Step 1 – Start with testing the finish of your wood floor
In order to ensure the type of finish your wood floor has experts suggest scrapping off a small bit of it with a sharp knife blade from an inconspicuous zone. Now if –
After smudging no clear material scrapped up from your floor in that case chances are high that it has a penetrating finish. At this stage you must abandon your mission of polishing the wood floor. The type of floor you are dealing with does not require polish. Rather it needs to be waxed.
On the other hand if a clear material comes up from smudging then probably your floor has surface finish. This type of floor is meant for polishing. But still a little more test will not do any harm. Polish a tiny inconspicuous area of the floor first and notice the result. If there is no adverse effect then you can obviously go about polishing the entire floor.
Step 2 – clear the wood floor of the accumulated dust and dirt
You have to remove as many objects and furniture from the room as possible. The aim is to make the room empty. Then clean the dust and dirt accumulated on the floor. Skilled and trained wooden floor cleaners in London suggest first you should either sweep or vacuum the floor followed by moping with a commercially manufactured wood floor cleaning solution. Alternatively if you want to use a homemade solution then mix about a quarter cup of any mild dish soap with a gallon of warm water. This is an excellent solution to do away with any lingering grime. Then mop the floor with a clean piece of cloth or sponge soaked in water to get rid of any residual of the cleaning solution. Lastly, use a clean and soft piece of towel to dry up the floor completely.
Step 3 – polish your wood floor and brings its sheen back
Starting from the back corner of the room and plotting a path that ends up at the exit of the room, pour a small quantity of the cleaning solution on the floor. It is better if you can pour it in the shape of “S”. Now get hold of a mop having flat surface and simply work the solution back and forth in the direction similar to that of the wood grain. If there is any air bubble, just smooth it out carefully. Work on a tiny area at a time for effective cleaning. Make sure to coat the entire floor surface with the liquid. If required you can go about applying another coat of the solution to the floor surface.
It is important to note that polish may stain your baseboards and drywalls. Therefore do not splash the solution on these zones or areas.
Step 4 – do not restore the room back in its usual shape for at least a day
You have to allow ample time for the floor to get completely dried before you can use the room again. It is best not to restore the room for at least a day following the polishing. Do not drag or slide furniture either to avoid scratching the cleaned and polished floor. Rather pick up each piece to put them in place. For larger pieces of furniture use felt furniture pads underneath.
Follow these tips to make your task easier and effective. If you want more information on cleaning wood floors DIY or have any queries on the topics discussed above, just feel free to contact London Carpet Cleaning Company Vip Carpet Cleaning London.