As more and more people are turning to home workouts, home gyms are becoming increasingly popular. One essential component of a home gym is the flooring. Without proper flooring, you risk damage to your equipment, injury, and even structural damage to your home. In this article, we will discuss why rubber flooring is the best choice for your home gym, how to choose the right rubber flooring for your needs, and how to install it properly.
Why Rubber Flooring is the Best Choice for Your Home Gym
Rubber flooring is the most popular flooring choice for home gyms. There are several reasons for this:
- Durability: Rubber flooring is durable and can withstand heavy weights and constant foot traffic. It is also resistant to scratches, scuffs, and other types of damage.
- Shock absorption: Rubber flooring is shock-absorbent, which helps to reduce the impact on your joints when you’re doing high-impact exercises. This makes it an excellent choice for those who are prone to injuries.
- Noise reduction: Rubber flooring is also an excellent noise reducer, which is important when working out at home, especially if you live in an apartment or have neighbors.
- Easy maintenance: Rubber flooring is easy to clean and maintain. All you need is a damp mop and a mild detergent to keep it clean.
How to Choose the Right Rubber Flooring for Your Needs
When choosing the right rubber flooring for your home gym, there are several things to consider:
- Thickness: The thickness of your rubber flooring will depend on the type of exercise you plan on doing in your home gym. If you plan on doing high-impact exercises such as running or jumping, you’ll want a thicker flooring that provides more shock absorption.
- Type of Rubber: There are two types of rubber flooring: virgin and recycled. Virgin rubber is made from new rubber, while recycled rubber is made from old tires. Virgin rubber is more expensive, but it is also more durable.
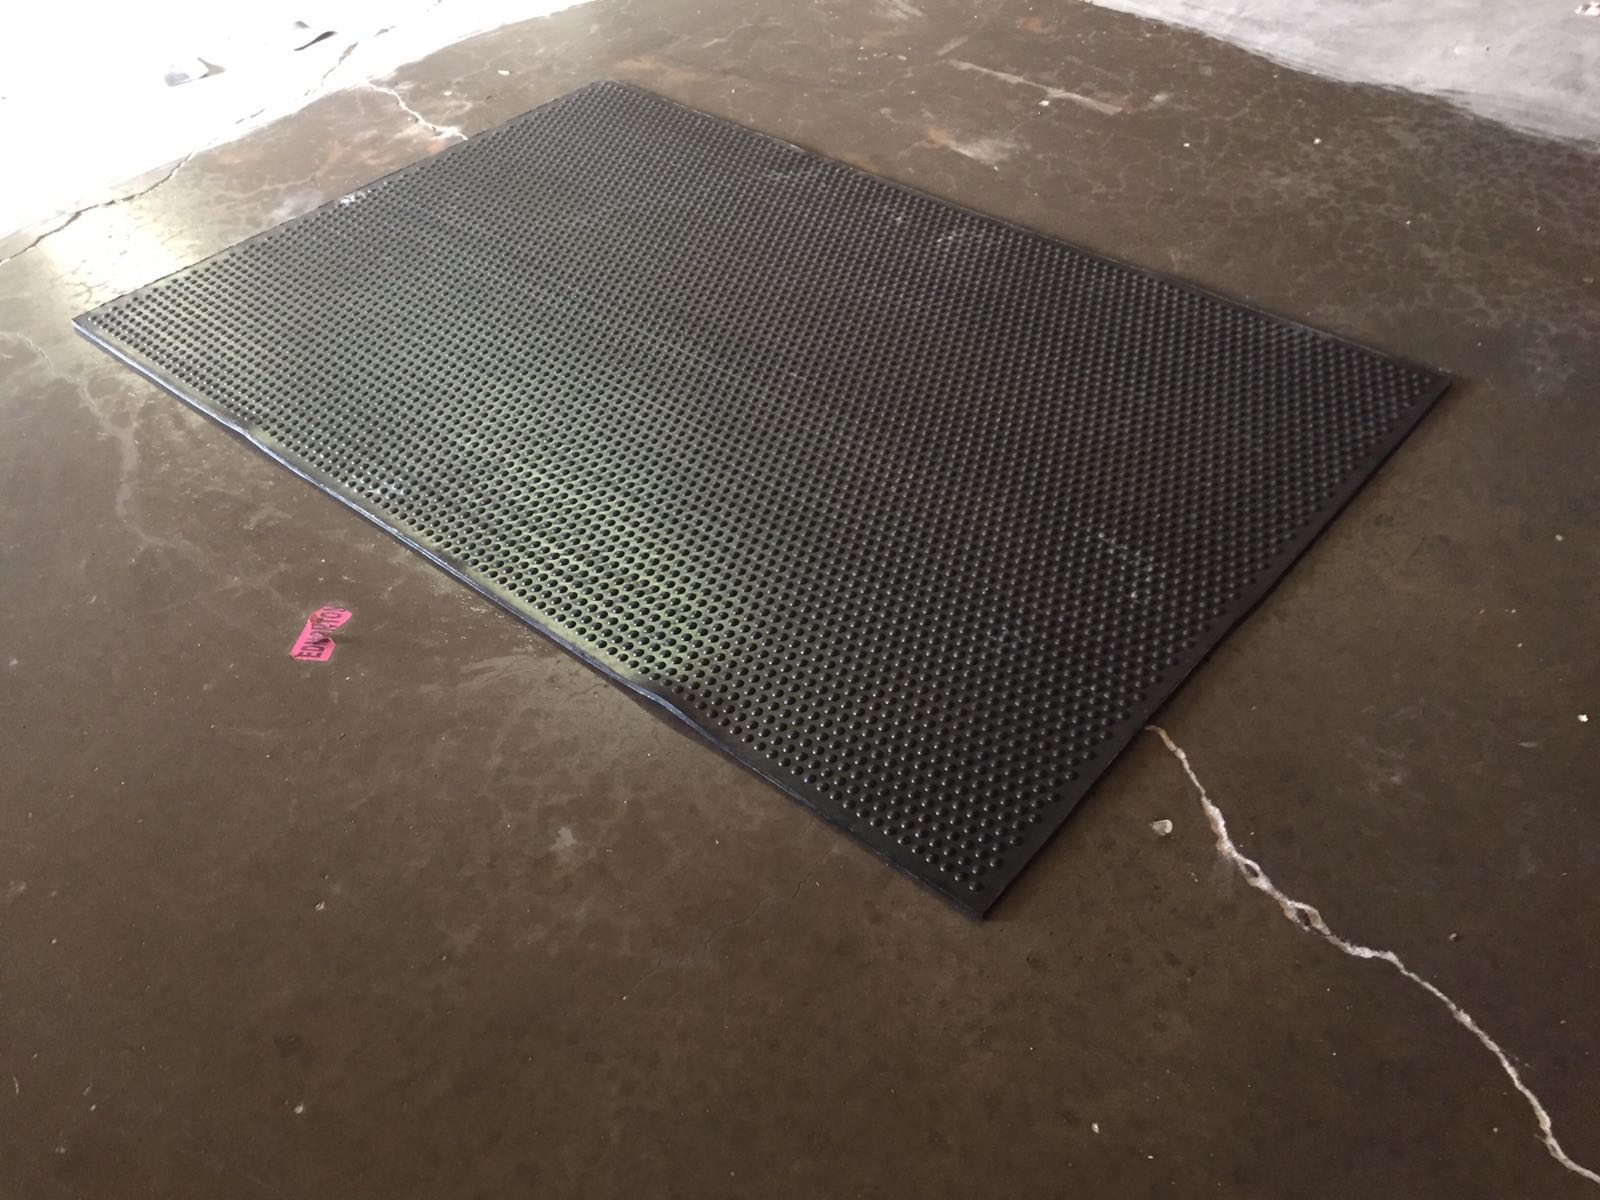
- Texture: The texture of your rubber flooring is also important. Smooth rubber is great for weightlifting and other low-impact exercises, while textured rubber provides more traction and is better for high-impact exercises.
- Color: While the color of your rubber flooring may not be the most important factor, it is something to consider. Darker colors will hide dirt and scuffs better than lighter colors.
How to Install Rubber Flooring in Your Home Gym
Now that you’ve chosen the right rubber flooring for your needs, it’s time to install it. Here are the steps to follow:
- Clean and prepare the subfloor: Before installing your rubber flooring, you’ll need to clean and prepare the subfloor. This involves removing any debris, filling in any cracks or holes, and ensuring that the subfloor is level.
- Lay out the flooring: Once the subfloor is clean and prepared, it’s time to lay out the rubber flooring. Make sure that you measure and cut the flooring to fit your space properly.
- Adhere the flooring: Once you have the flooring in place, you’ll need to adhere it to the subfloor. You can use double-sided tape or adhesive to do this.
- Trim the edges: After the flooring is adhered to the subfloor, you’ll need to trim the edges to fit properly.
- Allow the flooring to settle: Finally, allow the flooring to settle for at least 24 hours before using your home gym.